
If you have purchased one of our resume template, you may wonder what's the fastest and easiest way to edit yours. If that's your case, you have arrived to the right place.
In this article, you'll learn step by step how to edit or replace the text of your resume template.
For demonstration purposes, we will use the Original Resume Template.
Before we start, note that we have created this template in the latest version of Microsoft Word and has the same layout grid as the:
- Focus resume template
- Compact resume template
- Parallel resume template
Which means that you can also follow these instructions to edit or replace the text of those resume templates, isn't that great?
So, if you do not have the latest version of Microsoft Word you can download here the free trial version.
Let's get started.
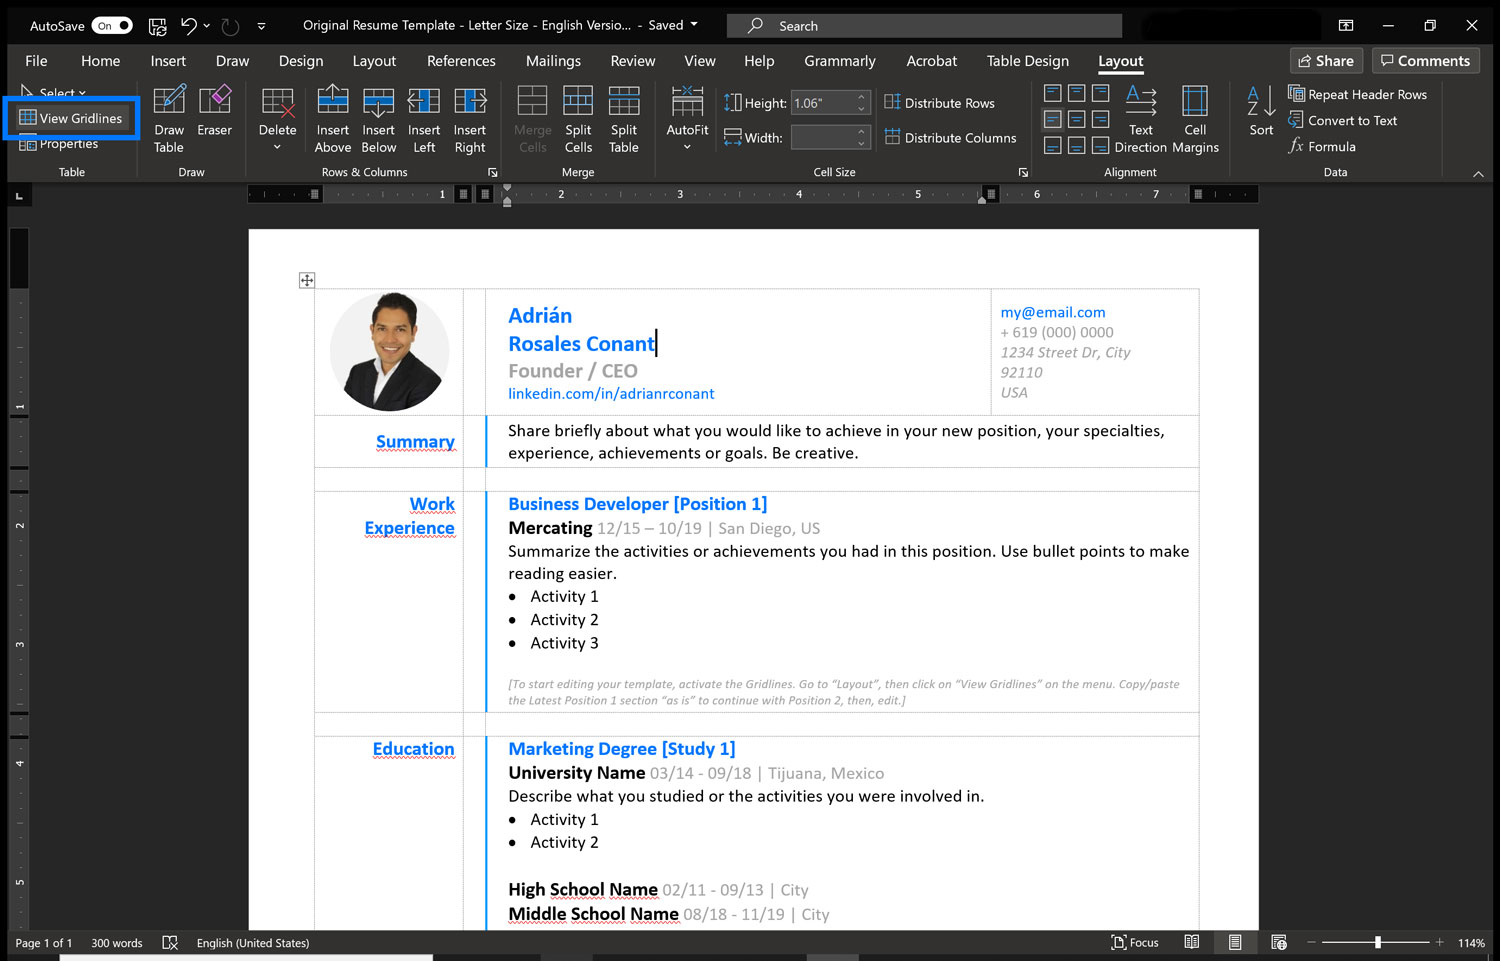
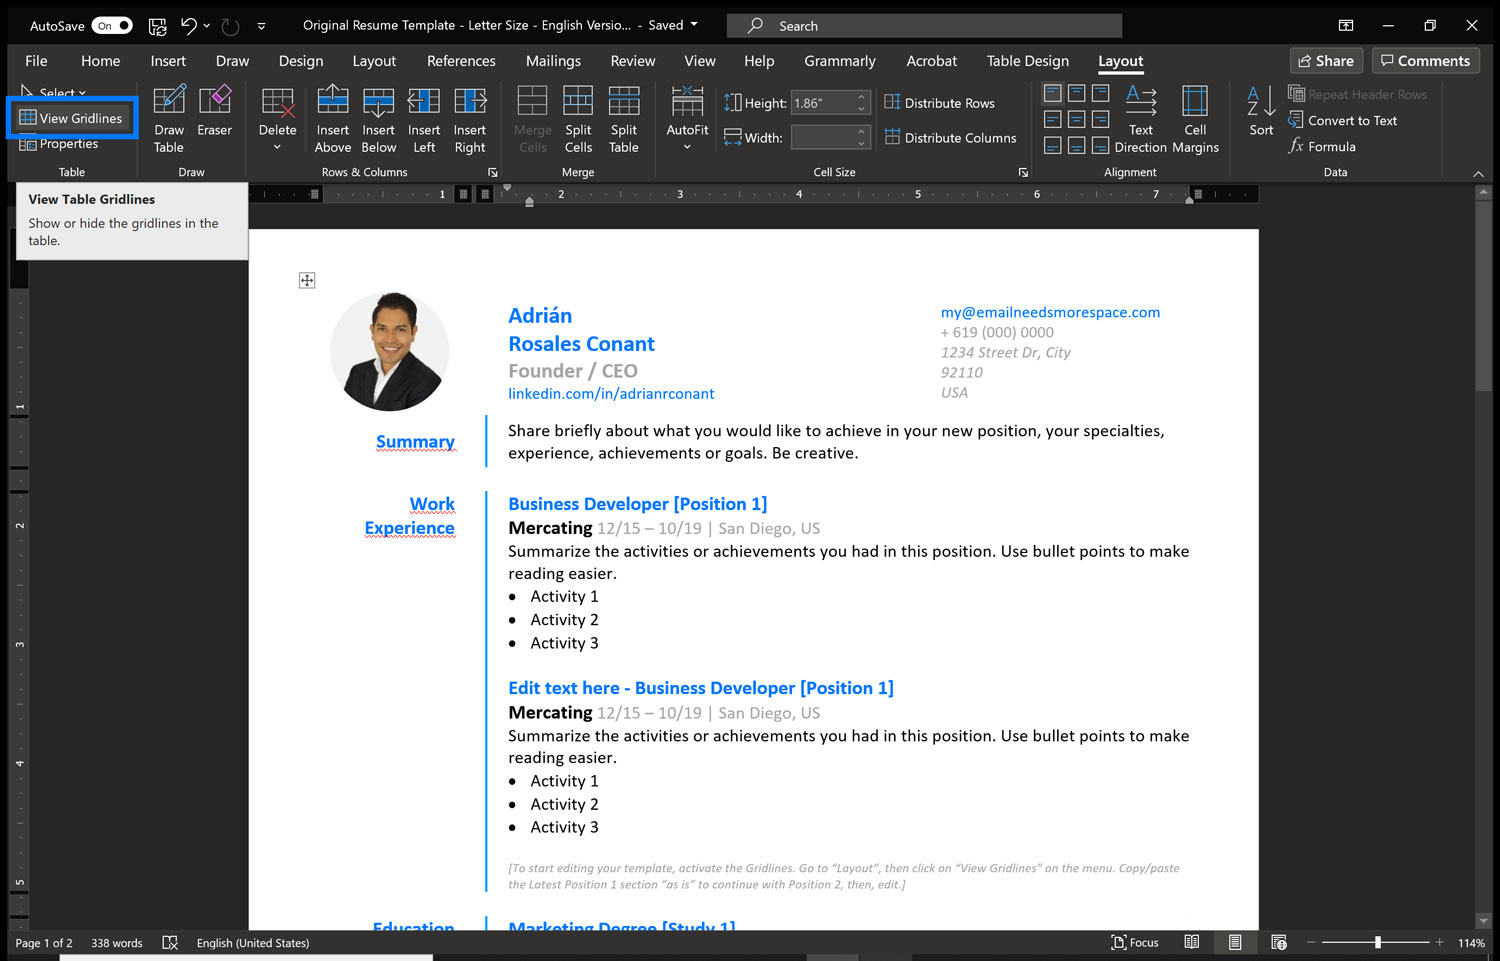
1. Activate the gridlines.
Before modifying your template, the first thing you may want to do is to understand the template's layout. The way to do that is by activating the gridlines.
To start go to the main menu, click on "Layout", then "View Gridlines".
This view will display the document grid as you can see in the image below.
Although we won't cover how to edit the grid layout in this support article, just for your reference, if you need to change the template layout composition, you can select any gridlines and drag it to any direction. However, before you do that, check the step two.
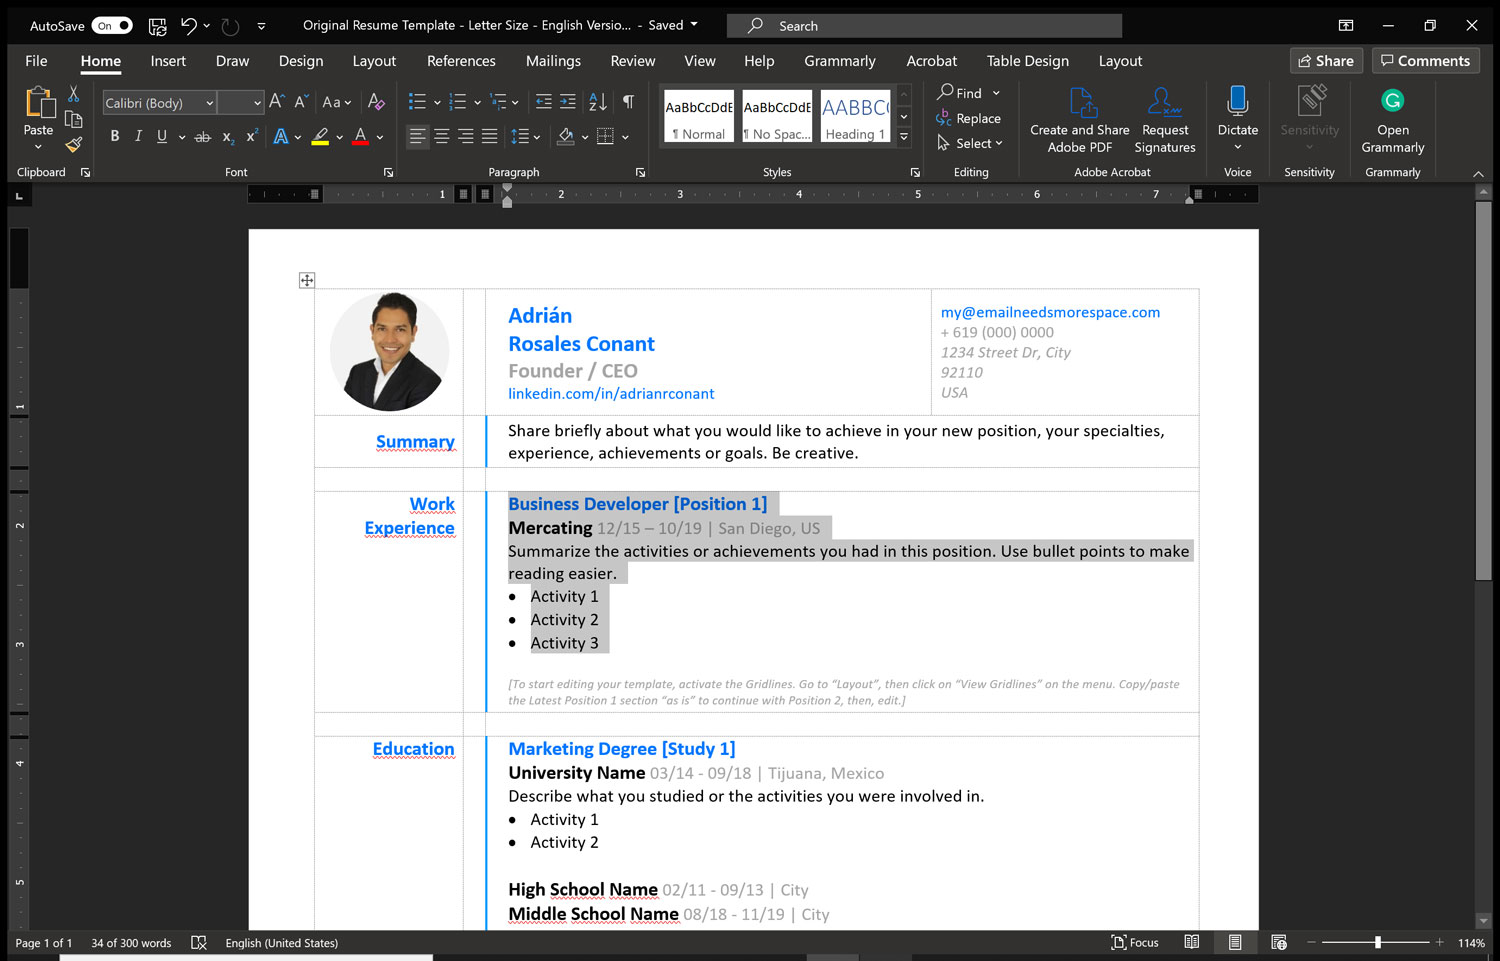
2. Copy the template text.
Regardless of the work experience you may have, meaning the content you would like to present to your recruiter, you may want to make sure to duplicate the template text (content that's already in the template) so you can keep the same formatting for each position.
In this step, select and copy the content as shown below.
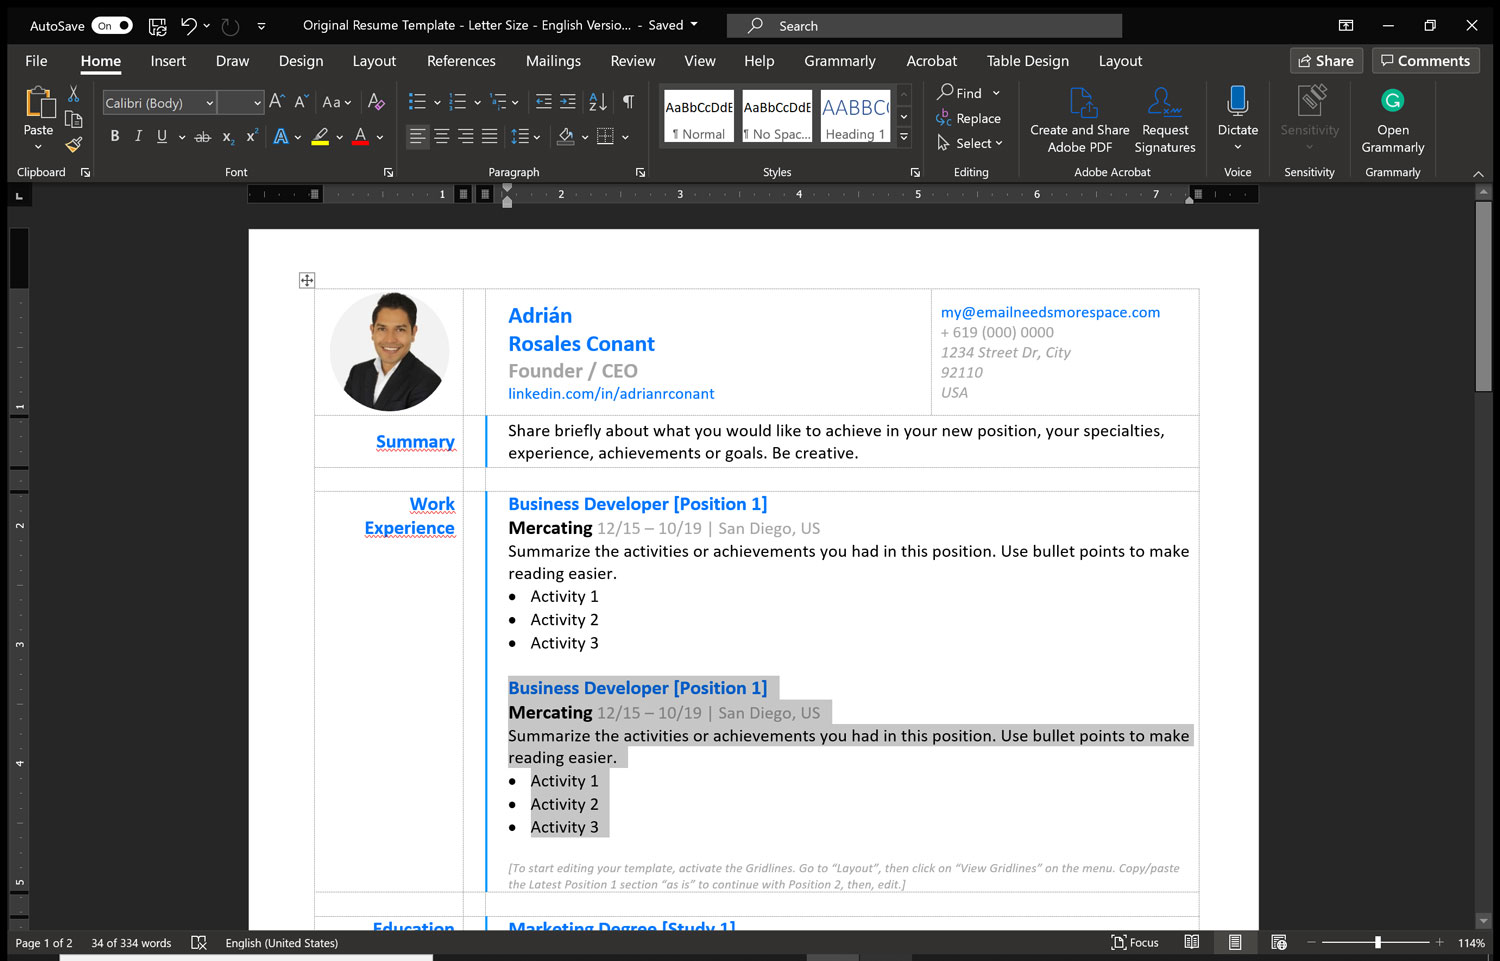
3. Duplicate the template text.
Paste the template text under the original [Position 1] to duplicate it as shown in the image below.
Repeat this step to duplicate as many template text you need within the work experience, education, or courses and certifications sections.
At this step, you will notice that the grid will automatically adapt to the template text you insert.
IMPORTANT: Make sure you skip a line every time you insert a new template text block to keep it consistent.
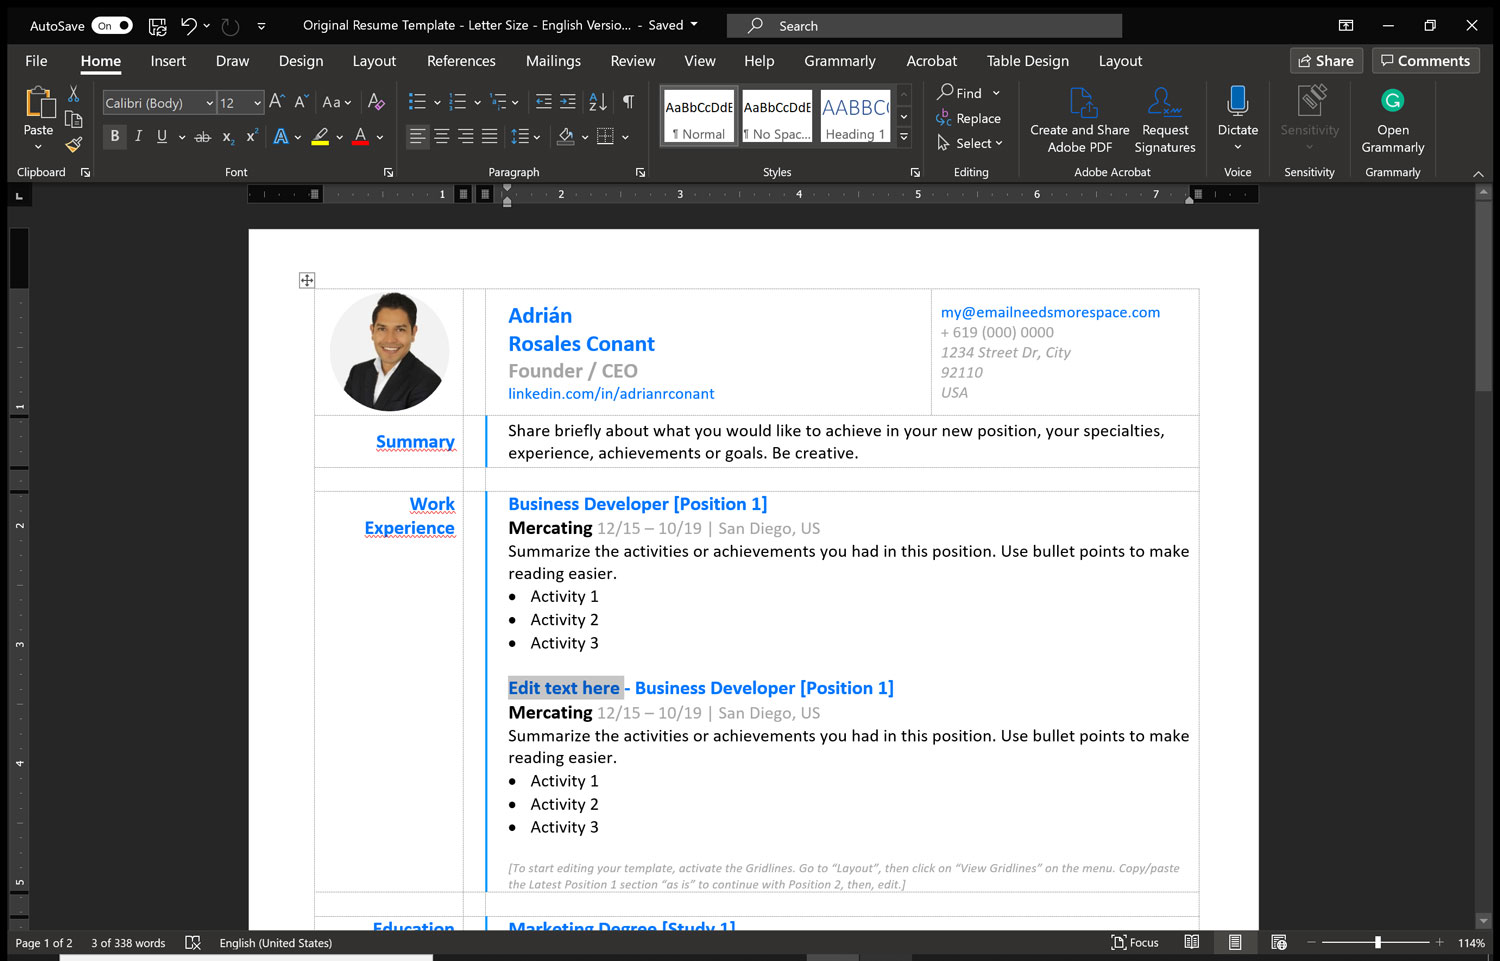
4. Replace the template text.
Once you have the template text blocks you need to cover each section of your resume, it's time to replace it with your own text.
To replace the template text and maintain the formatting (size and color) of the new text, whether you type or paste it from other sources like Word files, PDF files, emails, etc., we recommend you to insert the new text over the template text.
IMPORTANT: Avoid deleting the template text before typing or pasting the new text. If you are using text from other sources, remember to use paste special > Unformatted text.
5. Deactivate the gridlines
Finally, deactivate the gridlines to review the result and double-check if your formatting is consistent.
That's pretty much it! You have learned how to edit your own Resume Template. As always, if you have further questions, please don't hesitate to contact us.


